你的 dad jokes 放在哪儿?当然是在 dadabase 里。我们来想象一下,你是全世界最受欢迎的 dad jokes 数据库的管理员。项目的技术概况是:使用 REST API 与数据库通信,这种 REST API 具有搜索笑话和对笑话进行评分的功能;网站的访问者可以通过一个简单的用户界面对每条笑话进行评分。
最近你了解到一种新技术,它叫做 GraphQL,它具有一定的灵活性,可以精准获取你需要的数据,而且是使用单一的 API 结点。这听上去很不错,于是你打算在应用程序中使用这种技术。但是,你不希望对原有的 REST API 作过多的改动。能否让你的项目同时支持 REST API 和 GraphQL API?
在本文中,我们会讨论如何基于已有的 REST API 来实现 GraphQL API。你使用这种方法,不需要对基于原有的 REST API 框架进行调整,就可以在项目的未完成的模块中使用 GraphQL。
如果你想看到最终的结果,可以访问 REST API 代码 和 前端和 GraphQL API 代码。还要记得浏览一下网站,那些笑话很值得看哦。
初始架构
项目的后台原先是使用 Node 和 JSON Server 开发的。JSON Server 利用 Express 为一个模拟的数据库提供了完整的 REST API,并且这个数据库是由一个简单的 JSON 文件生成的。前端是使用 Vanilla JS 实现的,并使用浏览器内嵌的 Fetch API 发出 API 请求。该应用程序托管在 Heroku 上,可以方便地对它进行部署和监控。
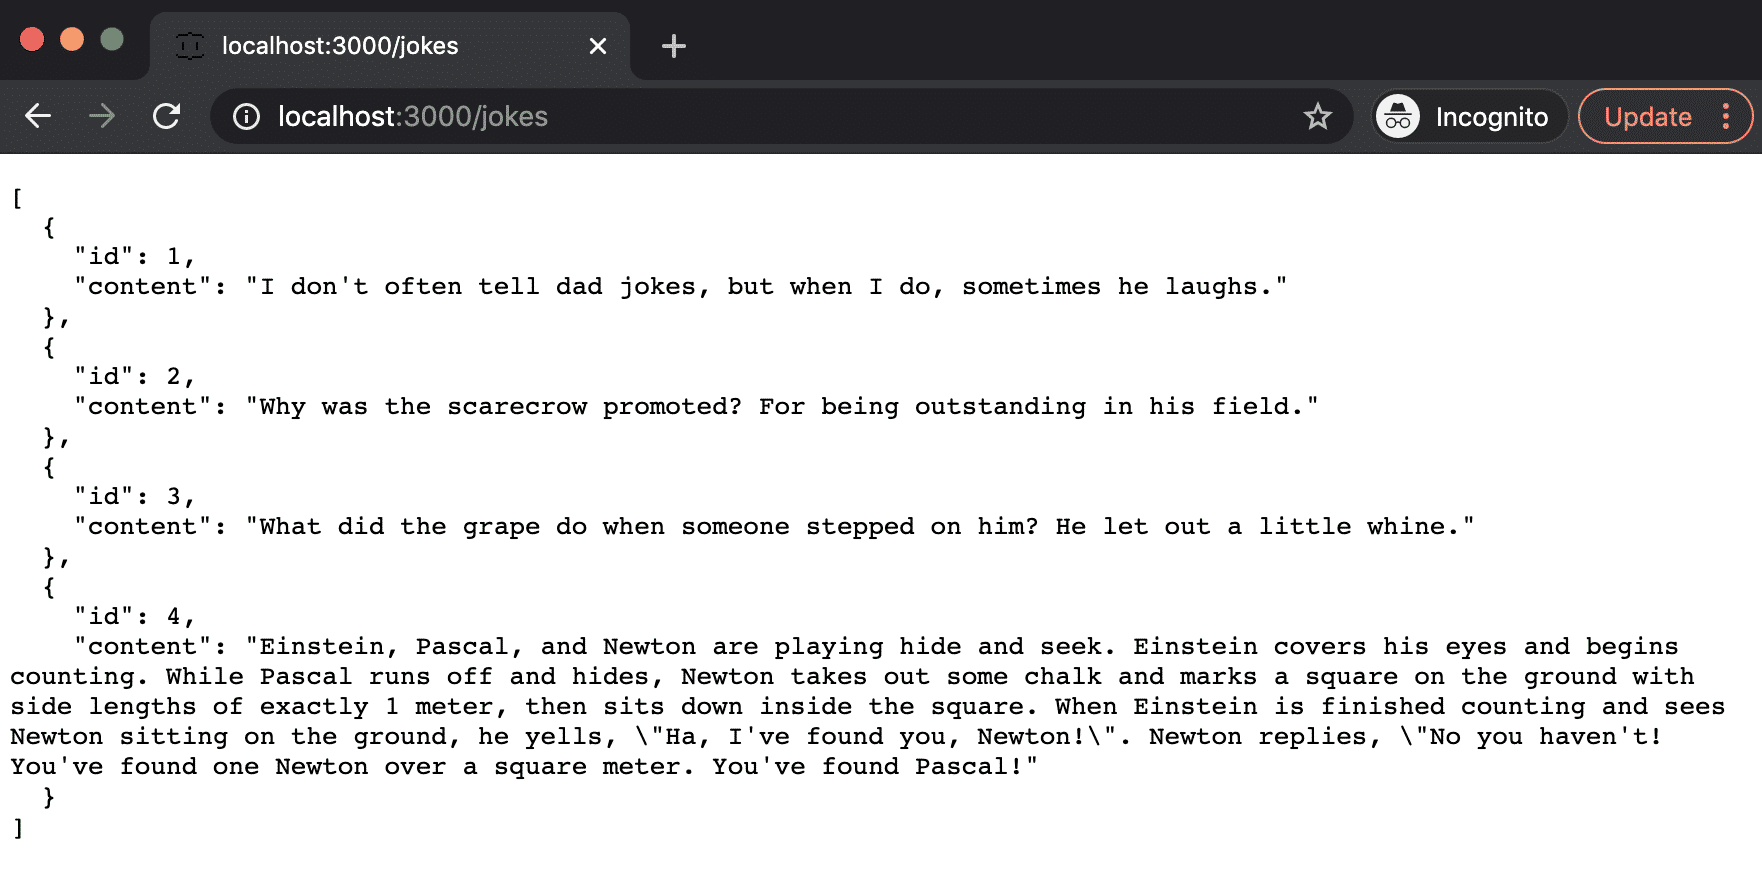
我们使用的 JSON 文件含有一些笑话和评分信息。下面,我们把它完整地复制出来:
{
  "jokes": [
    {
      "id": 1,
      "content": "I don't often tell dad jokes, but when I do, sometimes he laughs."
    },
    {
      "id": 2,
      "content": "Why was the scarecrow promoted? For being outstanding in his field."
    },
    {
      "id": 3,
      "content": "What did the grape do when someone stepped on him? He let out a little whine."
    },
    {
      "id": 4,
      "content": "Einstein, Pascal, and Newton are playing hide and seek. Einstein covers his eyes and begins counting. While Pascal runs off and hides, Newton takes out some chalk and marks a square on the ground with side lengths of exactly 1 meter, then sits down inside the square. When Einstein is finished counting and sees Newton sitting on the ground, he yells, \"Ha, I've found you, Newton!\". Newton replies, \"No you haven't! You've found one Newton over a square meter. You've found Pascal!"
    }
  ],
  "ratings": [
    { "id": 1, "jokeId": 1, "score": 8 },
    { "id": 2, "jokeId": 2, "score": 3 },
    { "id": 3, "jokeId": 3, "score": 6 },
    { "id": 4, "jokeId": 1, "score": 7 },
    { "id": 5, "jokeId": 2, "score": 6 },
    { "id": 6, "jokeId": 3, "score": 4 },
    { "id": 7, "jokeId": 1, "score": 9 },
    { "id": 8, "jokeId": 2, "score": 10 },
    { "id": 9, "jokeId": 3, "score": 2 },
    { "id": 10, "jokeId": 4, "score": 10 },
    { "id": 11, "jokeId": 4, "score": 10 },
    { "id": 12, "jokeId": 4, "score": 10 },
    { "id": 13, "jokeId": 4, "score": 10 },
    { "id": 14, "jokeId": 4, "score": 10 },
    { "id": 15, "jokeId": 4, "score": 10 }
  ]
}
JSON Server 系统把这个文件中的数据作为数据库的初始数据,接着实现一套 REST API,其中包括对 GET, POST, PUT, PATCH 和 DELETE 请求的支持。JSON Server 的神奇之处在于,使用这套 API 就能实现对 JSON 文件的修改,因此数据库就是完全交互式的。JSON Server 不经安装就可以直接由 npm 脚本启动,但为了对它进行一些配置以及端口的设置,我们可以写下几行代码并运行它,代码如下:
const jsonServer = require('json-server')
const server = jsonServer.create()
const router = jsonServer.router('db.json')
const middlewares = jsonServer.defaults()

server.use(middlewares)
server.use(router)
server.listen(process.env.PORT || 3000, () => {
  console.log(`? JSON Server is running on port ${process.env.PORT || 3000}`)
})
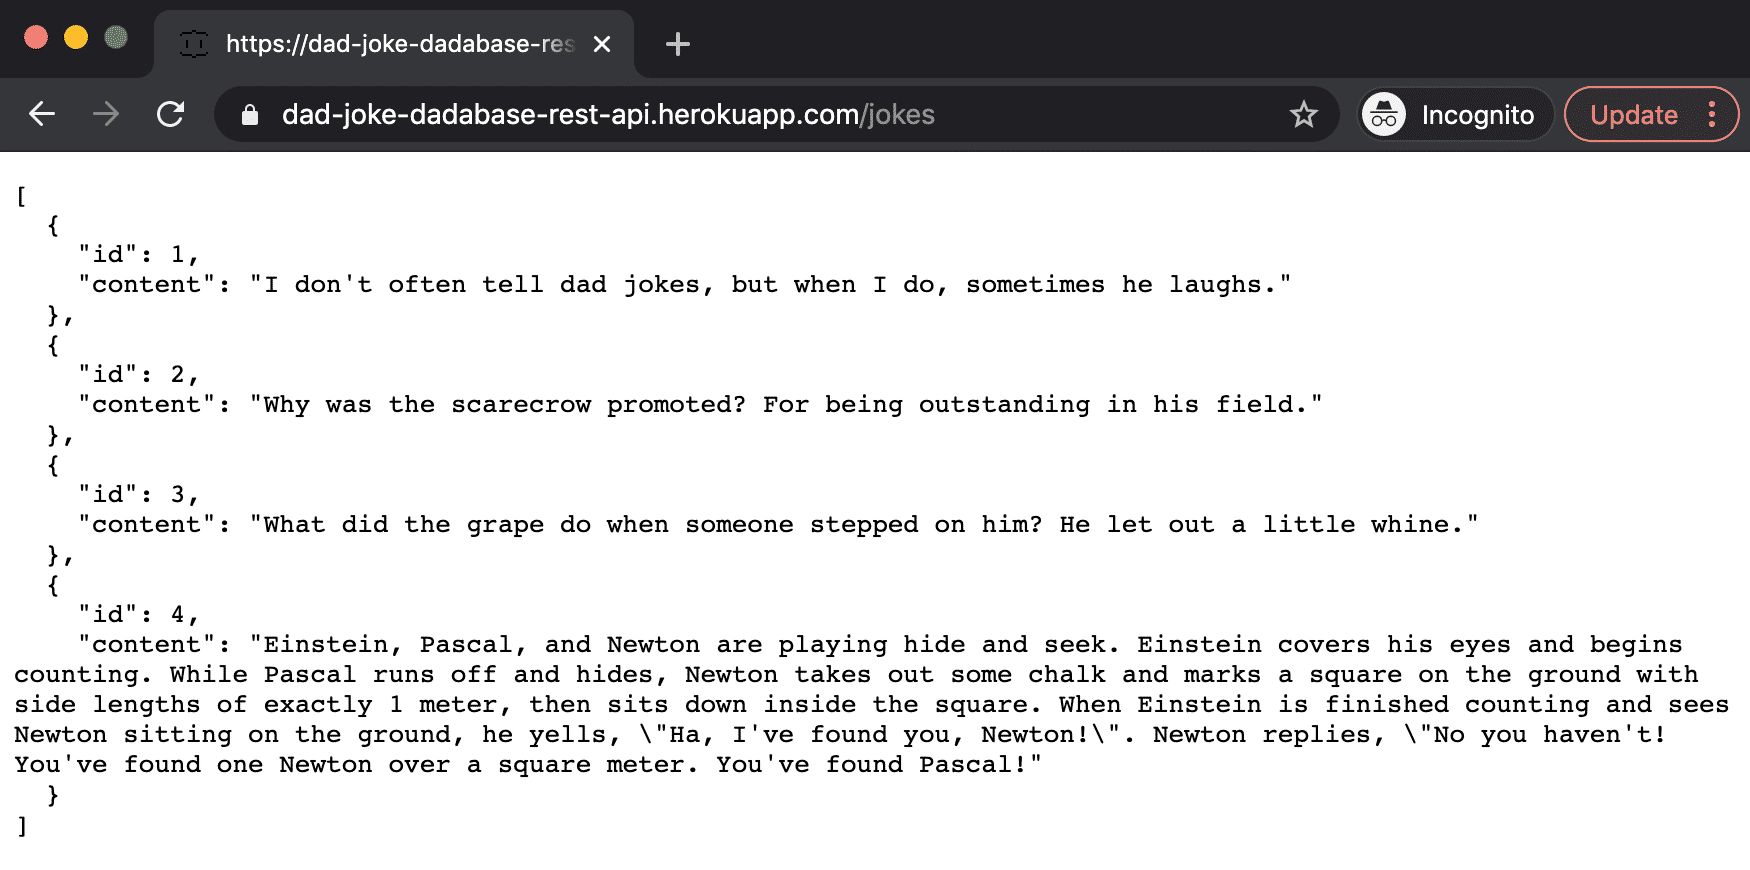
欲对这个模拟的数据库进行测试,你可以把 API 有关的仓库克隆到本地,并运行 npm install 和 npm start。在浏览器中访问 http://localhost:3000/jokes ,页面会显示所有的笑话。访问 http://localhost:3000/ratings ,页面会显示所有的评分信息。
太棒了。我们可以在浏览器上运行应用程序的后台。现在我们把 API 托管在 Heroku 中。首先需要安装 Heroku 命令行工具。然后,我们可以进行这些操作:登录,创建项目,推送到 Heroku 服务端,在浏览器中打开项目的操作界面。
# 登录你的 Heroku 账户
heroku login

# 创建项目
heroku create dad-joke-dadabase-rest-api

# 将代码部署到 Heroku 服务端
git push heroku master

# 打开项目的后台页面
heroku open
看,现在我们把 API 发布到公网上了!
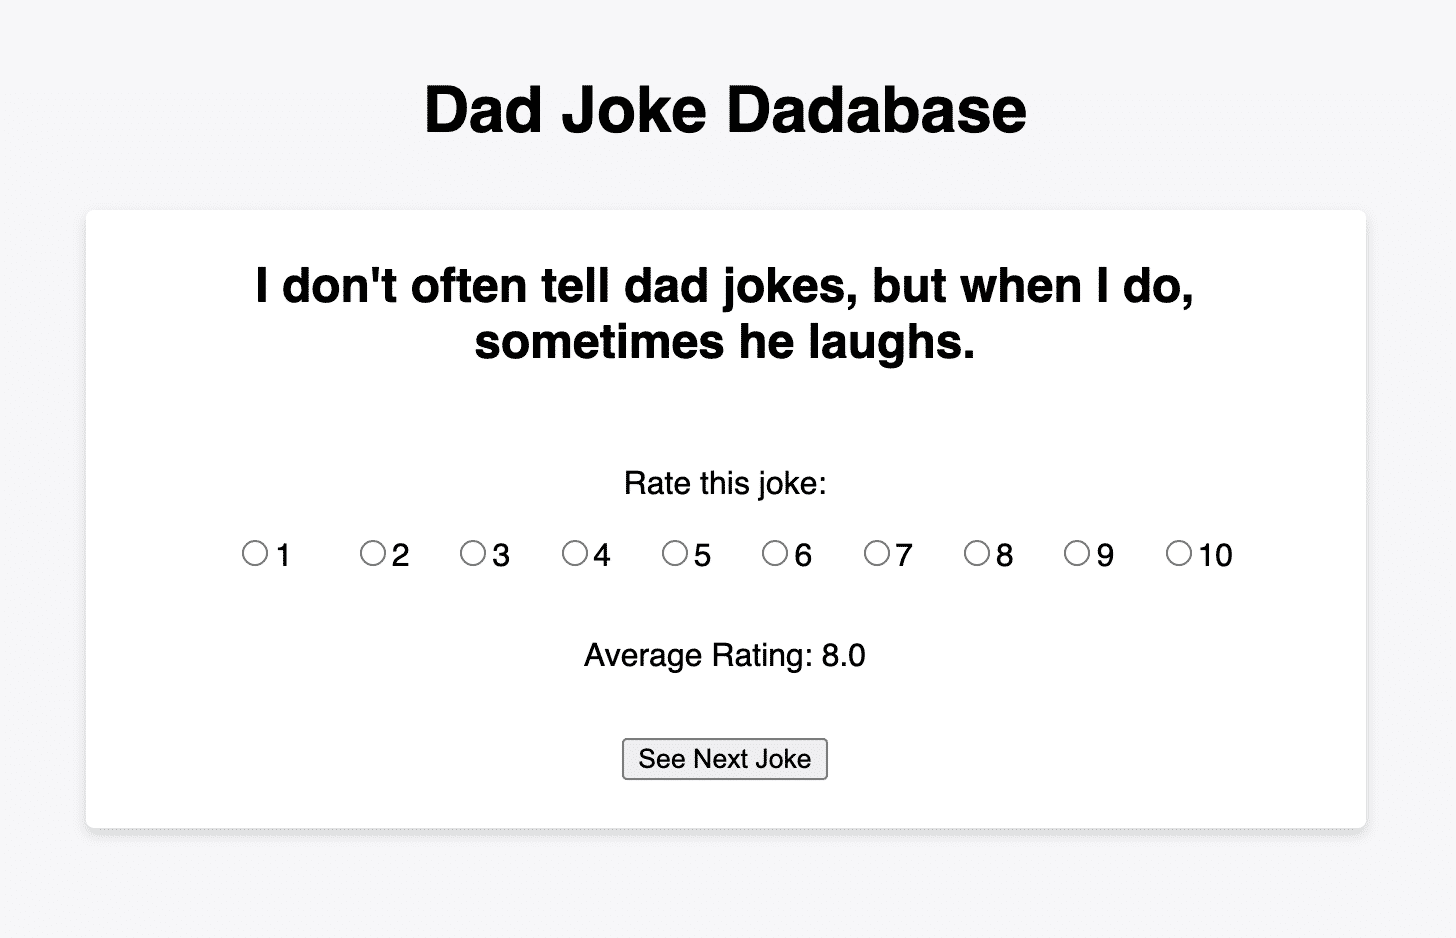
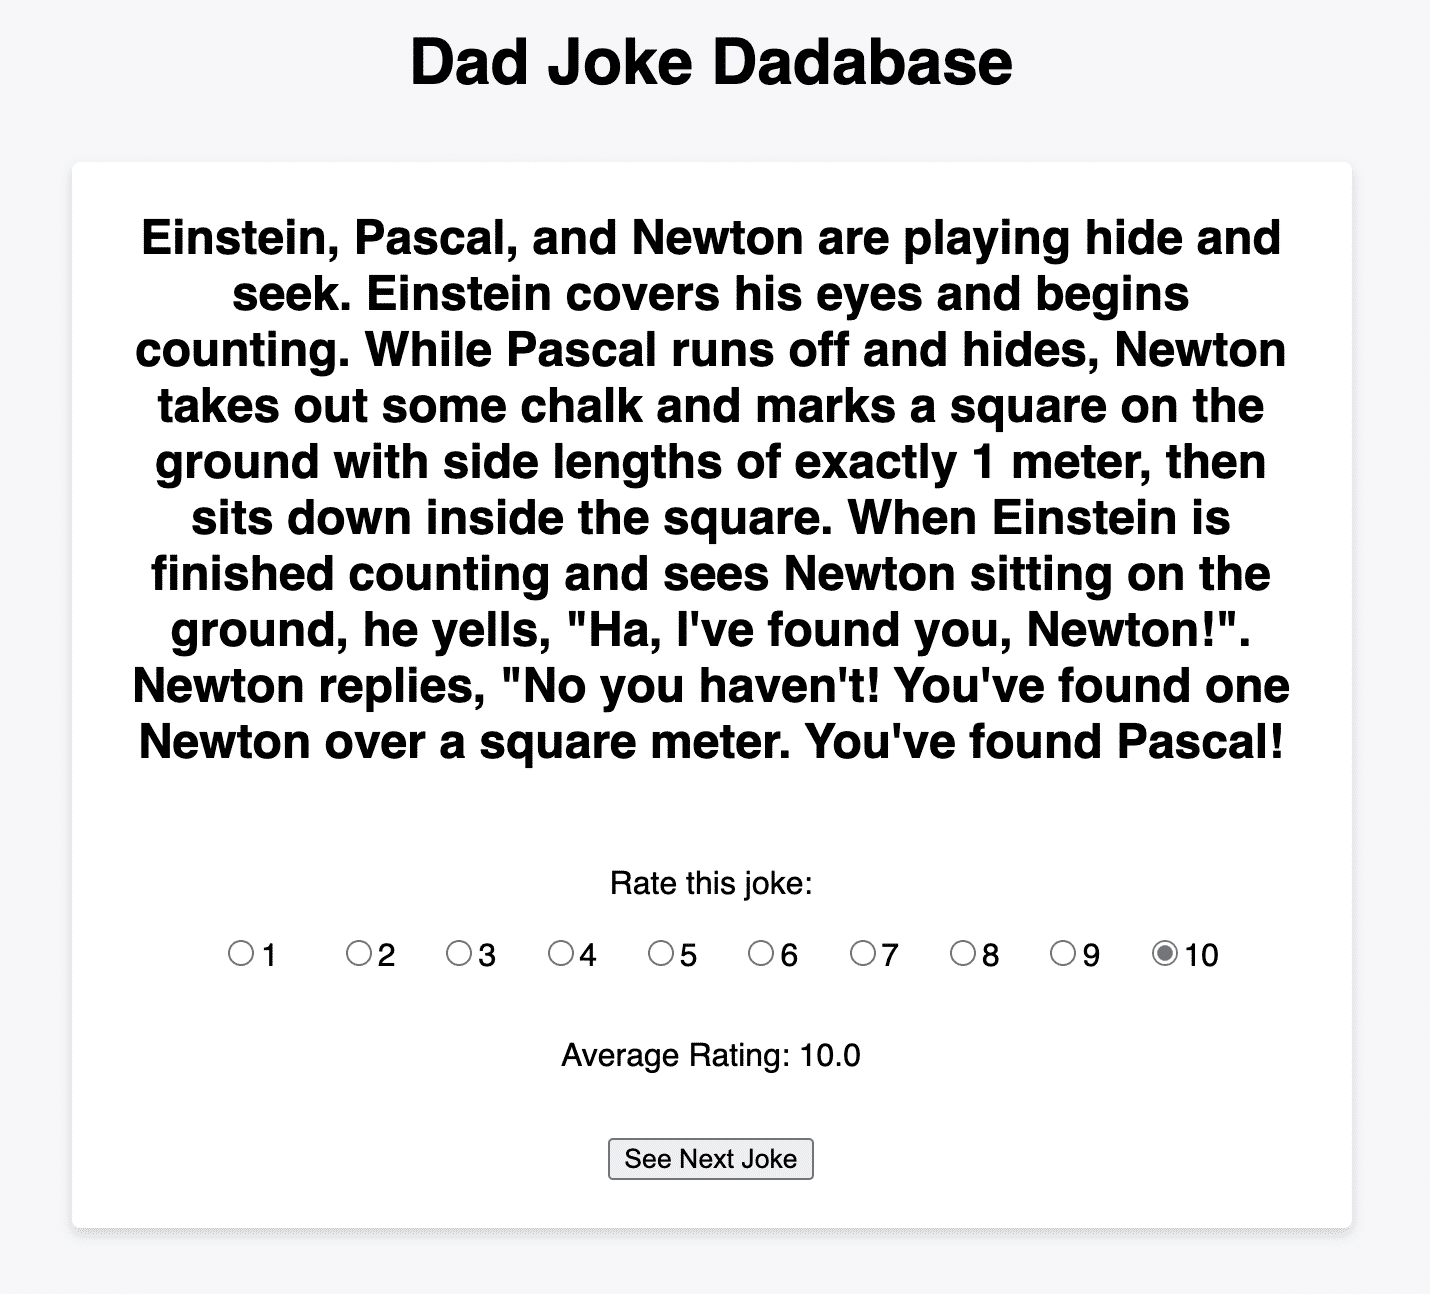
构建用户界面
既然我们已经部署了一个运行中的 REST API,就可以制作前端页面,并使用 API 把这些笑话数据呈现在页面上,还可以对这些笑话进行评分。下面的 HTML 页面代码实现了一个显示笑话内容的容器,笑话内容由 JavaScript 代码加载进来。
<!doctype html>
<html lang="en">
<head>
  <meta charset="utf-8">
  <meta name="viewport" content="width=device-width, initial-scale=1">
  <title>Dad Joke Dadabase</title>
  <meta name="description" content="Where do you keep your dad jokes? In a dadabase of course!">
  <meta name="author" content="Tyler Hawkins">
  <link rel="stylesheet" href="./style.css">
</head>
<body>
  <h1>Dad Joke Dadabase</h1>

  <div class="project">
    <h2 class="jokeContent"></h2>
    <div class="rateThisJokeContainer">
      <p>Rate this joke:</p>
      <div class="rateThisJokeOptions">
        <span class="formGroup"><input type="radio" id="score-1" name="yourRating" value="1" /><label for="score-1">1</label></span>
        <span class="formGroup"></span><input type="radio" id="score-2" name="yourRating" value="2" /><label for="score-2">2</label></span>
        <span class="formGroup"></span><input type="radio" id="score-3" name="yourRating" value="3" /><label for="score-3">3</label></span>
        <span class="formGroup"></span><input type="radio" id="score-4" name="yourRating" value="4" /><label for="score-4">4</label></span>
        <span class="formGroup"></span><input type="radio" id="score-5" name="yourRating" value="5" /><label for="score-5">5</label></span>
        <span class="formGroup"></span><input type="radio" id="score-6" name="yourRating" value="6" /><label for="score-6">6</label></span>
        <span class="formGroup"></span><input type="radio" id="score-7" name="yourRating" value="7" /><label for="score-7">7</label></span>
        <span class="formGroup"></span><input type="radio" id="score-8" name="yourRating" value="8" /><label for="score-8">8</label></span>
        <span class="formGroup"></span><input type="radio" id="score-9" name="yourRating" value="9" /><label for="score-9">9</label></span>
        <span class="formGroup"></span><input type="radio" id="score-10" name="yourRating" value="10" /><label for="score-10">10</label></span>
      </div>
    </div>
    <p class="averageRating">Average Rating: <span class="jokeRatingValue">7.8</span></p>
    <button id="nextJoke">See Next Joke</button>
</div>
  <script src="./script.js"></script>
</body>
</html>
JavaScript 代码如下。跟 REST API 交互的关键代码在于两个获取数据的请求。第一个请求通过访问 /jokes?_embed=ratings 获取数据库中所有的笑话,第二个请求是 POST 类型的,它通过访问 /ratings 提交对某个笑话的评分。
const jokeContent = document.querySelector('.jokeContent')
const jokeRatingValue = document.querySelector('.jokeRatingValue')
const nextJokeButton = document.querySelector('#nextJoke')

const jokes = []
let currentJokeIndex = -1

const displayNextJoke = () => {
  currentJokeIndex++
  if (currentJokeIndex >= jokes.length) {
    currentJokeIndex = 0
  }

  const joke = jokes[currentJokeIndex]

  jokeContent.textContent = joke.content

  const totalScore = joke.ratings.reduce(
    (total, rating) => (total += rating.score),
    0
  )
  const numberOfRatings = joke.ratings.length
  const averageRating = totalScore / numberOfRatings

  jokeRatingValue.textContent = averageRating.toFixed(1)
}

const submitJokeRating = () => {
  const ratingInput = document.querySelector('input[name="yourRating"]:checked')

  if (ratingInput && ratingInput.value) {
    const score = Number(ratingInput.value)
    const jokeId = jokes[currentJokeIndex].id
    const postData = { jokeId, score }

    fetch('/ratings', {
      method: 'POST',
      headers: {
        'Content-Type': 'application/json',
      },
      body: JSON.stringify(postData),
    })
      .then(response => response.json())
      .then(responseData => {
        const jokeToUpdate = jokes.find(joke => joke.id === responseData.jokeId)
        jokeToUpdate && jokeToUpdate.ratings.push(responseData)
      })
      .finally(() => {
        ratingInput.checked = false
        displayNextJoke()
      })
  } else {
    displayNextJoke()
  }
}

nextJokeButton.addEventListener('click', submitJokeRating)

fetch('/jokes?_embed=ratings')
  .then(response => response.json())
  .then(data => {
    jokes.push(...data)
    displayNextJoke()
  })
安装并使用 Apollo Server
这样,我们已经完成了项目的架构:它有一个简单的页面,该页面通过 REST API 跟数据库通信。那么,我们如何使用 GraphQL?使用 GraphQL 之前需要哪些准备工作呢?第一步,我们安装 [apollo-server-express](https://www.npmjs.com/package/apollo-server-express),它是一个程序包,用于实现 Apollo Server 和 Express 的集成。也需要安装 [apollo-datasource-rest](https://www.npmjs.com/package/apollo-datasource-rest) 包,用于 REST API 和 Apollo Server 的集成。然后,我们来配置服务器,需要编写以下代码:
const express = require('express')
const path = require('path')
const { ApolloServer } = require('apollo-server-express')
const JokesAPI = require('./jokesAPI')
const RatingsAPI = require('./ratingsAPI')
const typeDefs = require('./typeDefs')
const resolvers = require('./resolvers')

const app = express()
const server = new ApolloServer({
  typeDefs,
  resolvers,
  dataSources: () => ({
    jokesAPI: new JokesAPI(),
    ratingsAPI: new RatingsAPI(),
  }),
})

server.applyMiddleware({ app })

app
  .use(express.static(path.join(__dirname, 'public')))
  .get('/', (req, res) => {
    res.sendFile('index.html', { root: 'public' })
  })
  .get('/script.js', (req, res) => {
    res.sendFile('script.js', { root: 'public' })
  })
  .get('/style.css', (req, res) => {
    res.sendFile('style.css', { root: 'public' })
  })

app.listen({ port: process.env.PORT || 4000 }, () => {
  console.log(`? Server ready at port ${process.env.PORT || 4000}`)
})
你可以看到,我们配置了 Apollo Server 的三个属性:typeDefs, resolvers 和 dataSources。其中,typeDefs 属性包含了与我们的 GraphQL API 相关的 schema,我们在相应的包中定义笑话和评分的数据类型,以及如何查询和更新数据;resolvers 告诉服务器如何处理各种各样的查询和更新需求,以及如何连接数据源;最后,dataSources 大致描述了 GraphQL API 与 REST API 的关联关系。
下面的代码定义了 Joke 和 Rating 数据类型,以及如何查询和更新数据。
const { gql } = require('apollo-server-express')

const typeDefs = gql`
  type Joke {
    id: Int!
    content: String!
    ratings: [Rating]
  }
  type Rating {
    id: Int!
    jokeId: Int!
    score: Int!
  }
  type Query {
    joke(id: Int!): Joke
    jokes: [Joke]
    rating(id: Int!): Rating
    ratings: [Rating]
  }
  type Mutation {
    rating(jokeId: Int!, score: Int!): Rating
  }
`

module.exports = typeDefs
下面是 JokesAPI 类的代码,主要定义了笑话数据创建、查询、更新、删除的方法,这些方法分别调用相应的 REST API 实施相关的数据操作。
const { RESTDataSource } = require('apollo-datasource-rest')

class JokesAPI extends RESTDataSource {
  constructor() {
    super()
    this.baseURL = 'https://dad-joke-dadabase-rest-api.herokuapp.com/'
  }

  async getJoke(id) {
    return this.get(`jokes/${id}?_embed=ratings`)
  }

  async getJokes() {
    return this.get('jokes?_embed=ratings')
  }

  async postJoke(jokeContent) {
    return this.post('jokes', jokeContent)
  }

  async replaceJoke(joke) {
    return this.put('jokes', joke)
  }

  async updateJoke(joke) {
    return this.patch('jokes', { id: joke.id, joke })
  }

  async deleteJoke(id) {
    return this.delete(`jokes/${id}`)
  }
}

module.exports = JokesAPI
评分数据跟笑话相似,只是在每个实例中把 “joke” 变为 “rating”。欲获取这部分代码,可以参考 GitHub 上的代码仓库。
最后,我们设置解析器,在其中定义如何使用数据源。
const resolvers = {
  Query: {
    joke: async (_source, { id }, { dataSources }) =>
      dataSources.jokesAPI.getJoke(id),
    jokes: async (_source, _args, { dataSources }) =>
      dataSources.jokesAPI.getJokes(),
    rating: async (_source, { id }, { dataSources }) =>
      dataSources.ratingsAPI.getRating(id),
    ratings: async (_source, _args, { dataSources }) =>
      dataSources.ratingsAPI.getRatings(),
  },
  Mutation: {
    rating: async (_source, { jokeId, score }, { dataSources }) => {
      const rating = await dataSources.ratingsAPI.postRating({ jokeId, score })
      return rating
    },
  },
}

module.exports = resolvers
完成这些步骤,我们一切准备就绪,可以通过 Apollo Server 调用 GraphQL API 了。为了把新的前端页面和 GraphQL API 托管在 Heroku 上,我们需要创建并部署第二个应用程序:
# 创建 Heroku 应用程序
heroku create dad-joke-dadabase

# 把代码部署在 Heroku 上
git push heroku master

# 在本地打开 Heroku 应用程序
heroku open
把 API 端点功能改为获取笑话的代码
你应当回忆下,我们有两个 API 端点供前端页面调用:它们的功能分别是获取笑话和提交评分。现在我们把 REST API 中获取笑话的代码改为 GraphQL API 形式:
fetch('/jokes?_embed=ratings')
  .then(response => response.json())
  .then(data => {
    jokes.push(...data)
    displayNextJoke()
  })
我们把上述代码改为:
fetch('/graphql', {
  method: 'POST',
  headers: { 'Content-Type': 'application/json' },
  body: JSON.stringify({
    query: `
    query GetAllJokesWithRatings {
      jokes {
        id
        content
        ratings {
          score
          id
          jokeId
        }
      }
    }
  `,
  }),
})
  .then(res => res.json())
  .then(res => {
    jokes.push(...res.data.jokes)
    displayNextJoke()
  })
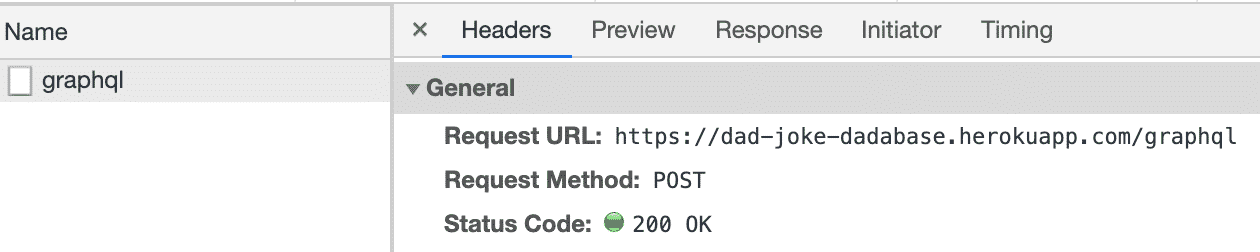
现在,我们可以在本地运行应用程序了。实际上,从用户的角度来说,没有发生任何变化。但假如你在浏览器的开发者工具中查看网络请求,你会发现,现在获取笑话是通过访问 /graphql 端点来实现的了。真棒!
把 API 端点功能改为提交评分的代码
一个 API 请求已完成,还有一个!我们现在对评分功能的代码进行修改。提交评分的代码原来类似于:
fetch('/ratings', {
  method: 'POST',
  headers: {
    'Content-Type': 'application/json',
  },
  body: JSON.stringify(postData),
})
  .then(response => response.json())
  .then(responseData => {
    const jokeToUpdate = jokes.find(joke => joke.id === responseData.jokeId)
    jokeToUpdate && jokeToUpdate.ratings.push(responseData)
  })
  .finally(() => {
    ratingInput.checked = false
    displayNextJoke()
  })
现在我们作如下的改动,让它使用我们的 GraphQL API:
fetch('/graphql', {
  method: 'POST',
  headers: { 'Content-Type': 'application/json' },
  body: JSON.stringify({
    query: `
    mutation CreateRating {
      rating(jokeId: ${jokeId}, score: ${score}) {
        id
        score
        jokeId
      }
    }
  `,
  }),
})
  .then(res => res.json())
  .then(res => {
    const rating = res.data.rating
    const jokeToUpdate = jokes.find(joke => joke.id === rating.jokeId)
    jokeToUpdate && jokeToUpdate.ratings.push(rating)
  })
  .finally(() => {
    ratingInput.checked = false
    displayNextJoke()
  })
经过快速测试,这段代码符合需求。再次说明,用户体验没有变,但现在我们请求数据使用的都是 /graphql 端点。
结论
我们做到了。我们以已有的 REST API 为基础,成功地实现了一个 GraphQL API 端点。因此,我们也能使用 GraphQL 来实现一些核心功能,而且已有的功能和原来的 REST API 都不需要修改。如今我们可以弃用 REST API,它将来也可能会退出历史舞台。
虽然 dad joke 数据库是完全虚拟的项目,但几乎所有的在 2015 年 GraphQL 发布会之前成立的科技公司都发现:如果他们改变技术路线,使用 GraphQL,他们自身的情况跟 dad jokes 一样,也是可行的。另外,还有个好消息,Apollo Server 属于较灵活的产品,它也可以从包括 REST API 端点在内的各种数据源获取数据。
常见问题FAQ
- 免费下载或者VIP会员专享资源能否直接商用?
- 本站所有资源版权均属于原作者所有,这里所提供资源均只能用于参考学习用,请勿直接商用。若由于商用引起版权纠纷,一切责任均由使用者承担。更多说明请参考 VIP介绍。
- 提示下载完但解压或打开不了?
- 找不到素材资源介绍文章里的示例图片?
- 模板不会安装或需要功能定制以及二次开发?


发表评论
还没有评论,快来抢沙发吧!