Vue-Router
项目创建
我们先创建一个项目
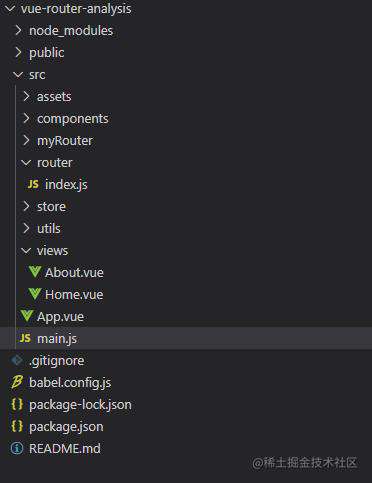
路由组件和相关配置
mian.js
import Vue from 'vue'
import App from './App.vue'
import router from './router'
Vue.config.productionTip = false

new Vue({
  router,
  render: h => h(App)
}).$mount('#app')
App.vue
<template>
<div id="app">
<div id="nav">
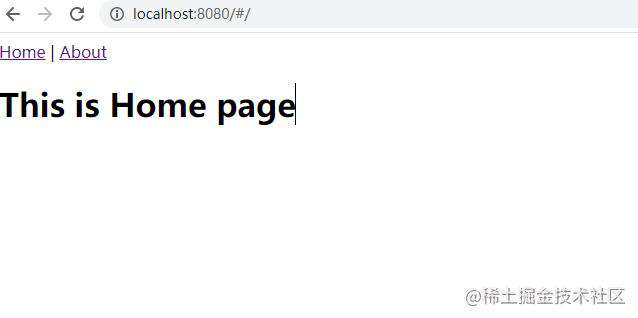
<router-link to="/">Home</router-link> |
<router-link to="/about">About</router-link>
</div>
<router-view/>
</div>
</template>
<style>
</style>
Home.vue
<template>
  <div class="home">
    <h1>This is Home page</h1>
  </div>
</template>

<script>
export default {
  name: 'Home',
}
</script>
About.vue
<template>
  <div class="about">
    <h1>This is an about page</h1>
  </div>
</template>


<script>
export default {
  name: 'About',
}
</script>
然后是路由配置 router/index.js
import Vue from 'vue'
import VueRouter from 'vue-router'
import Home from '../views/Home.vue'
import About from '../views/About.vue'

Vue.use(VueRouter)

  const routes = [
  {
    path: '/',
    name: 'Home',
    component: Home
  },
  {
    path: '/about',
    name: 'About',
    component:About
  }
]

const router = new VueRouter({
  routes
})

export default router
项目启动
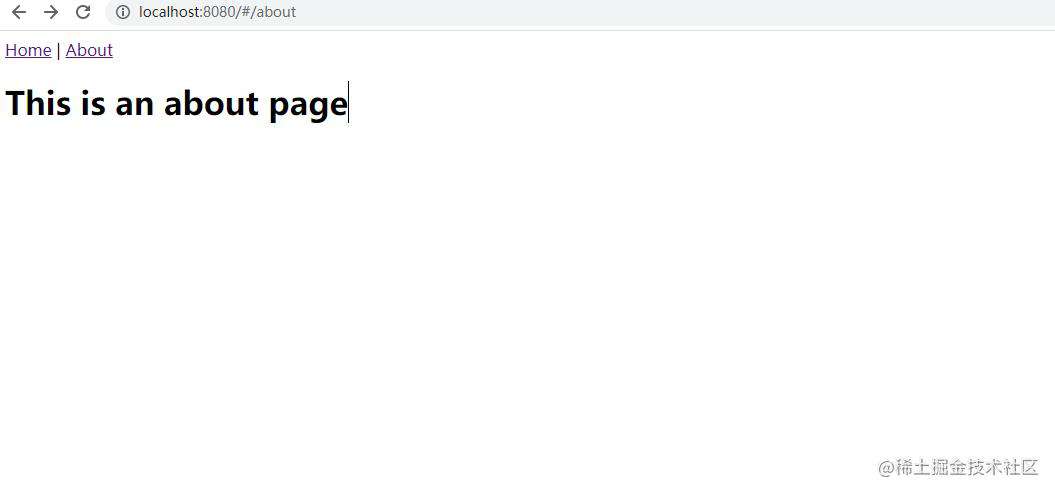 下面我们的目标就是自己编码实现 VueRouter,项目运行后能达到同样的效果
手写 Vue-Router
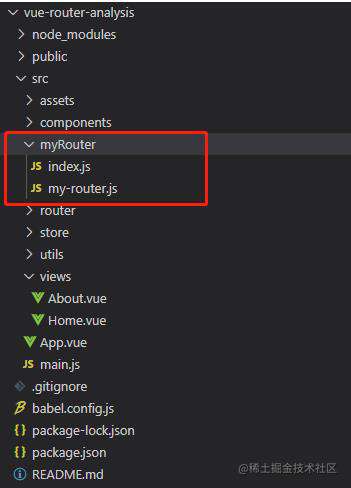
文件准备
现在我们决定创建自己的VueRouter,于是创建my-router.js文件
再将VueRouter引入 改成我们的my-router.js main.js
import Vue from 'vue'
import App from './App.vue'
import router from './myRouter'//router指向改变
Vue.config.productionTip = false

new Vue({
  router,
  render: h => h(App)
}).$mount('#app')
myRouter/index.js
import Vue from "vue";
import VueRouter from "./my-router";//router构造函数指向改变
import Home from "../views/Home.vue";
import About from "../views/About.vue"

Vue.use(VueRouter);

const routes = [
  {
    path: "/",
    name: "Home",
    component: Home,
  },
  {
    path: "/about",
    name: "About",
    component:About
  },
];

const router = new VueRouter({
  routes,
});

export default router;
需求分析
要实现 vue-router,有以下一些需求需要实现:
- vue-router 是作为一个插件使用,因此要实现 VueRouter类以及对应的install方法
- 全局注册两个组件:router-view 用于显示匹配组件的内容,router-link用于跳转
- 监控 url 变化:监听hashchange 或者 popstate 事件
- 创建一个相应式的变量 current,当它改变时获取对应组件并显示
基本结构
回想vue-router使用时的步骤
- 安装VueRouter,再通过
import VueRouter from 'vue-router'引入 - 先
const router = new VueRouter({...}),再把router作为参数的一个属性值,new Vue({router}) - 通过Vue.use(VueRouter) 使得每个组件都可以拥有 $router 实例
因此 VueRouter是一个构造函数。并且由于我们使用了 Vue.use(VueRouter),因而VueRouter必须有install方法。
所以vue-router会有以下的基本结构
myRouter/my-router.js
class myRouter {
  construct() {

  }
}

myRouter.install=function(){

}


export default myRouter
全局注册 router-view 与 router-link
全局注册组件需要通过 Vue.component({...})api,这里需要Vue的构造函数。而插件被使用时,即Vue.use(VueRouter)时,插件的install方法会被执行,vue构造函数会被作为第一个参数传入。我们可以利用这个被传入的vue来实现组件的注册
myRouter/my-router.js
let Vue //Vue会被作为install方法的参数传入,不必采取 import Vue from 'Vue' 来引入

class myRouter {
 //选项保存
  construct(options) {
    this.$options=options;
  }
}

myRouter.install=function(_Vue){
  Vue=_Vue;//Vue被引入

 //全局注册 router-link 与 router-view
 //组件渲染后的结果:<a href=`#${this.to}`>xxx</a> 这里标签中的元素xxx 即是 this.$slots.default
  Vue.component('router-link',{
      props:{
          to:{
              type:String,
              required:true
          }
      },
      render(h){
          return h("a", {
            attrs: {
              href: "#" + this.to,
            },
          },[this.$slots.default]);
      }
  })
  //暂时写死为 <div>router-view</div>
  Vue.component('router-view',{
    render(h){
     return h('div','router-view')
    }
  })
}
export default myRouter
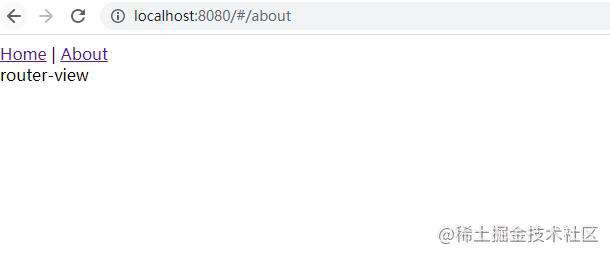
运行结果:
Vue组件上添加$router实例
想要做到在Vue组件实例上添加对象实例,最直接的做法便是在install方法中添加 Vue.prototype.$router=this,但这里有个问题,Vue.use(router) 是先执行的,此时并没有 router实例,无法挂载到Vue原型链上。为解决此问题采用 mixin方法:
myRouter/my-router.js
//...myRouter构造函数
myRouter.install=function(_Vue){
  Vue=_Vue;
  Vue.mixin({
      beforeCreate(){
          // beforeCreate执行时,此时,上下文已经是组件实例了
          // 如果this是根实例,则它的$options里面会有路由器实例
          if(this.$options.router){
            Vue.prototype.$router = this.$options.router;
          }
      }
  })
//... router-view 与 router-link的注册
事实上我们知道不止是根组件,每一个组件都能共享这同一个个$router。
这里只处理了根组件,子组件并未做处理,具体可以参阅源码。至此,根组件实例中便可以拿到$router,在根组件中能使用 this.$router
监听url变化
为简化过程,本案例只实现hash模式
let Vue

class myRouter {
  constructor(options) {
    this.$options = options;
    //这里注意this 指向,需要将其绑定指向 myRouter实例
    window.addEventListener('hashchange',this.onHashchange.bind(this))
    let initial=window.location.hash.slice(1)||'/'
    //创建响应式属性 current 这样在current发生变化时,对应的渲染(router-view)也会动态的改变
    Vue.util.defineReactive(this,'current',initial)
  }
  onHashchange() {
    this.current = window.location.hash.slice(1);
  }
}
以上步骤的关键就是这个响应式的属性current,当其变化时,router-view也会重新渲染以达到 SPA 无刷新切换路由的效果。这其实也解释了为什么 vue-router 是强依赖 vue的,因为数据响应是通过vue来实现的
完善 router-view
myRouter.install=function(_Vue){
  Vue=_Vue;

  Vue.mixin({
      //Vue挂载router实例
      beforeCreate(){
          if(this.$options.router){
            Vue.prototype.$router = this.$options.router;
          }
      }
  })

 //...注册 router-link
//完善 router-view
  Vue.component('router-view',{
    render(h){
     //如何拿到router实例,这一步关键
     //因为在 Vue的实例实例上已经挂载了router实例,可以通过 $router直接拿到 router实例
     const {$options:{routes},current}=this.$router
     //查找匹配路由的组件
     let component=null
     const route=routes.find((item)=>{
       return item.path==current
     })
     if(route){
        component=route.component
     }
     return h(component)
    }
  })
}
当然,为了简化匹配过程,我们也可以在初始化时定义一个routerMap用于匹配,那样整体代码如下:
let Vue

class myRouter {
  //1)保存选项
  //2)缓存path和route映射关系

  // 响应式数据,响应式实现依赖于Vue
  // current保存当前url
  // 使用defineReactive给router实例定义一个响应式属性 current
  // 监控url变化
  constructor(options) {
    this.$options = options;
    //用于匹配路由
    this.routerMap={};//{/:{path: '/', name: 'Home', component: {…}},/about:{path: '/about', name: 'About', component: {…}}}
    this.$options.routes.forEach((route)=>{
      this.routerMap[route.path]=route
    })

    window.addEventListener('hashchange',this.onHashchange.bind(this))
    let initial=window.location.hash.slice(1)||'/'
    Vue.util.defineReactive(this,'current',initial)

  }
  onHashchange() {
    // console.log(`window.location`, window.location);
    // console.log(`this`,this)
    this.current = window.location.hash.slice(1);
  }
}

myRouter.install=function(_Vue){
  Vue=_Vue;

  Vue.mixin({
      //Vue挂载router实例
      beforeCreate(){
          if(this.$options.router){
            Vue.prototype.$router = this.$options.router;
          }
      }
  })
  //注册router-link
  Vue.component('router-link',{
      props:{
          to:{
              type:String,
              required:true
          }
      },
      render(h){
          return h("a", {
            attrs: {
              href: "#" + this.to,
            },
          },[this.$slots.default]);
      }
  })

  Vue.component('router-view',{

    render(h){
     //如何拿到router实例,这一步关键
    //  console.log(`router-viewthis`,this.$options)
    //  console.log(`$router`,this.$router)
    //  const {$options:{routes},current}=this.$router
    //  let component=null
    //  const route=routes.find((item)=>{
    //    return item.path==current
    //  })
    //  if(route){
    //     component=route.component
    //  }
    const {routerMap,current}=this.$router;
    const component = routerMap[current]?routerMap[current].component:null
    return h(component);
    }
  })

}


export default myRouter
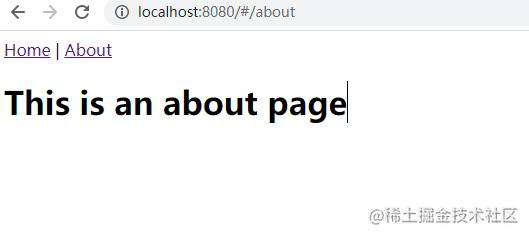
视图切换成功!!
嵌套路由的实现
虽说通过上面的努力我们已经能实现vue-router的基本功能。然而我们知道路由是可以嵌套使用的,但这需要做进一步的处理,现在的代码是无法实现的,如下所示:
myRouter/index.js
import Vue from "vue";
import VueRouter from "./my-router";
import Home from "../views/Home.vue";
import About from "../views/About.vue"

Vue.use(VueRouter);

const routes = [
  {
    path: "/",
    name: "Home",
    component: Home,
  },
  {
    path: "/about",
    name: "About",
    component:About,
    //配置嵌套路由
    children:[
      {
          path:'/about/info',
          //这里就不单独写一个vue文件了,直接用渲染函数构造一个div
          component:{render(h){return h('div','info page')}}
      }
    ]
  },
];

const router = new VueRouter({
  routes,
});

export default router;
然后我们在 about.vue 中再配一个 router-view
About.vue
<template>
  <div class="about">
    <h1>This is an about page</h1>
    <router-view></router-view>
  </div>
</template>
<script>


export default {
  name: 'About',
}
</script>
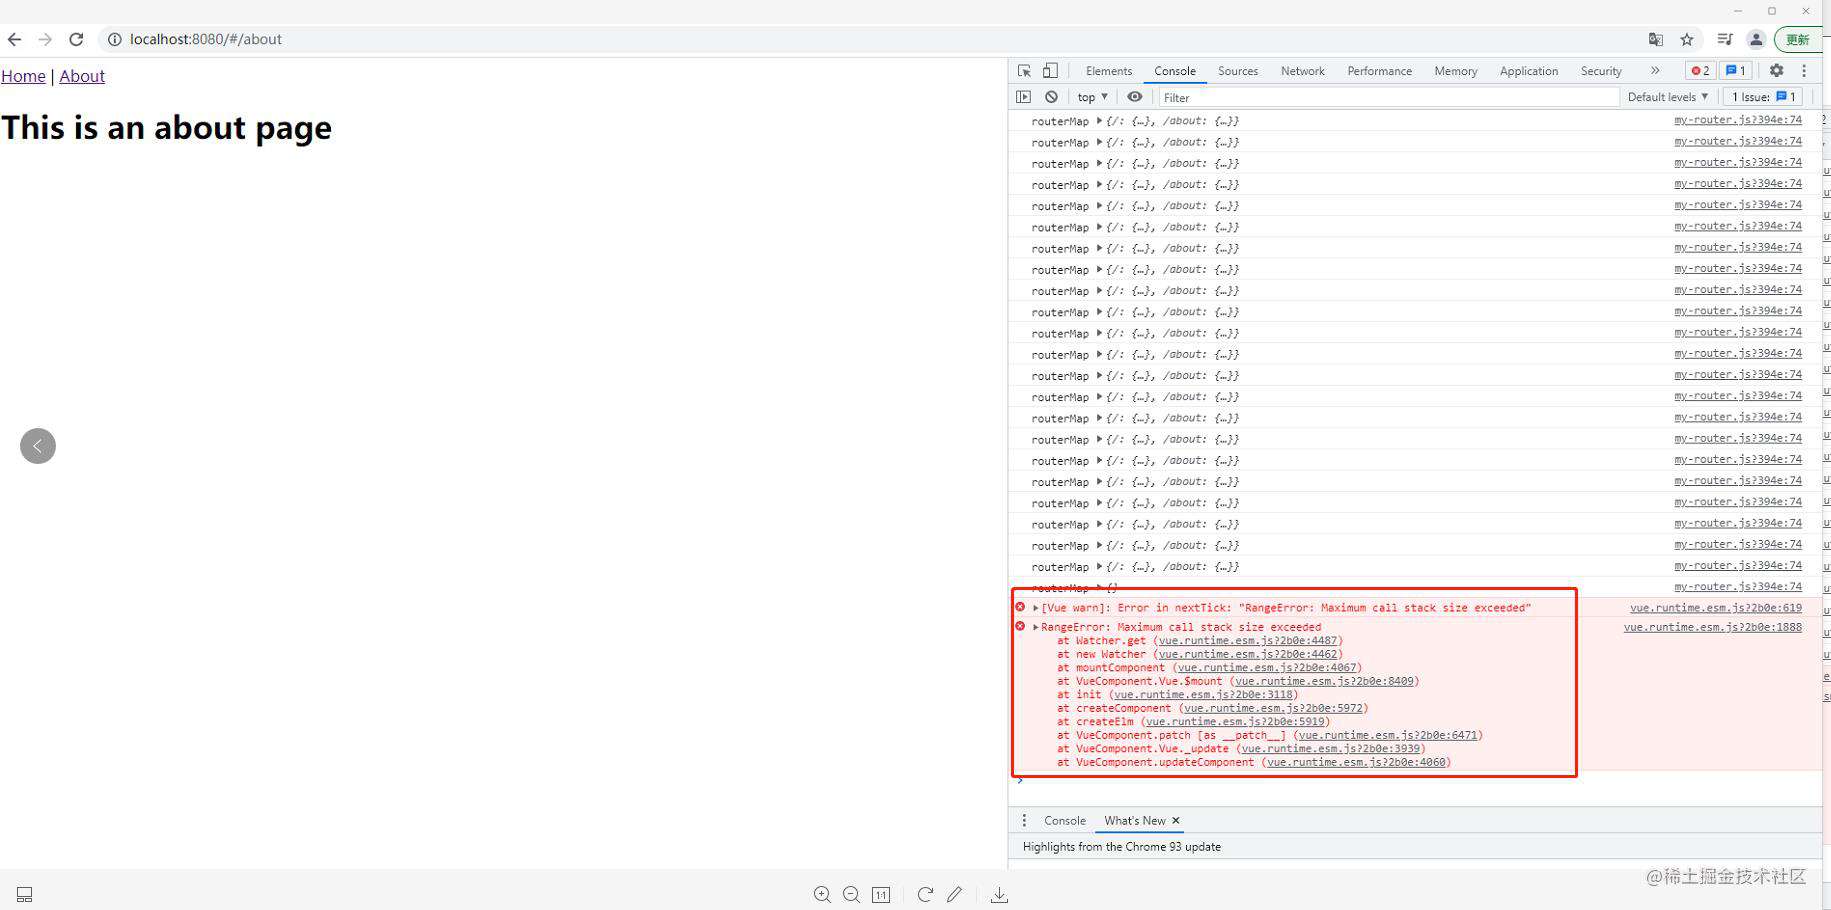
看到没有,死循环了,因为 /about 匹配到了 about组件,渲染about组件时又发现了router-view,又继续渲染about组件。。。
想要解决这个问题,就需要标明匹配的层级。我们需要有一个数组记录匹配到的路由组件,即针对 /about/info,要形成 matched:[{children:[{component:{...},path:'/about/info',name:'About',component:{...}}]},{component:{...},path:'/about/info'}] 这样的结构
而每一个router-view需要标记自己的深度,比如在 about中的info其深度就应为1, 这样matched[0]就能匹配到About组件,而在渲染about组件中的router-view时,则会匹配到 matched[1],也就是info组件。这样就能实现嵌套路由。
myRouter.install=function(_Vue){
  Vue=_Vue;

 //...通过混入办法在vue实例上添加router实例
 //...注册router-link

  Vue.component('router-view',{

    render(h){
               //标记当前 router-view 的深度
               this.$vnode.data.routerView = true;
               let depth = 0;
               let parent = this.$parent;
               //向上寻找父级元素
               while (parent) {
                 const vnodeData = parent.$vnode && parent.$vnode.data;
                 if (vnodeData) {
                   //如果父级元素已经被标记过
                   if (vnodeData.routerView) {
                     //说明祖代也是一个 router-view,深度加一
                     depth++;
                   }
                 }
                 parent = parent.$parent;
               }

               //路由匹配时获取 代表深度层级的 matched数组

               let component=null;
               const route=this.$router.matched[depth]
               if(route){
                 component = route.component
               }
               return h(component);
             }
  })

}
路由表匹配
class myRouter {

  constructor(options) {
    this.$options = options;

    window.addEventListener('hashchange',this.onHashchange.bind(this))

    let initial=window.location.hash.slice(1)||'/'
    this.current=initial
    //由于是通过matched数组作为匹配根据,响应式属性也改为matched

    Vue.util.defineReactive(this,'matched',[])
    //match 方法递归遍历路由表获得匹配关系的数组
    //初始化时先匹配一次
    this.match()
  }
  onHashchange() {
    //url变化时清空数据重新匹配
    this.current = window.location.hash.slice(1);
    this.matched = [];
    this.match()
  }
  match(routes){
     //match因为是递归使用,所以会传参,如果不传参,则用 $options中的路由做匹配
      routes=routes||this.$options.routes
     //递归遍历路由表
     for(const route of routes){
       //如果是首页则不作进一步匹配
       if(route.path==='/' && this.current==='/'){
         this.matched.push(route)
         return
       }
       // this.current: /about/info , route:about
       if(route.path!=='/' && this.current.indexOf(route.path)!==-1){
           this.matched.push(route) //先存入about路由对象
           console.log(`this.matched`, this.matched);
           //往下递归
           if(route.children && route.children.length>0){
               //再存入 /about/info 路由对象
               this.match(route.children)
           }
           return
       }
     }
  }
}
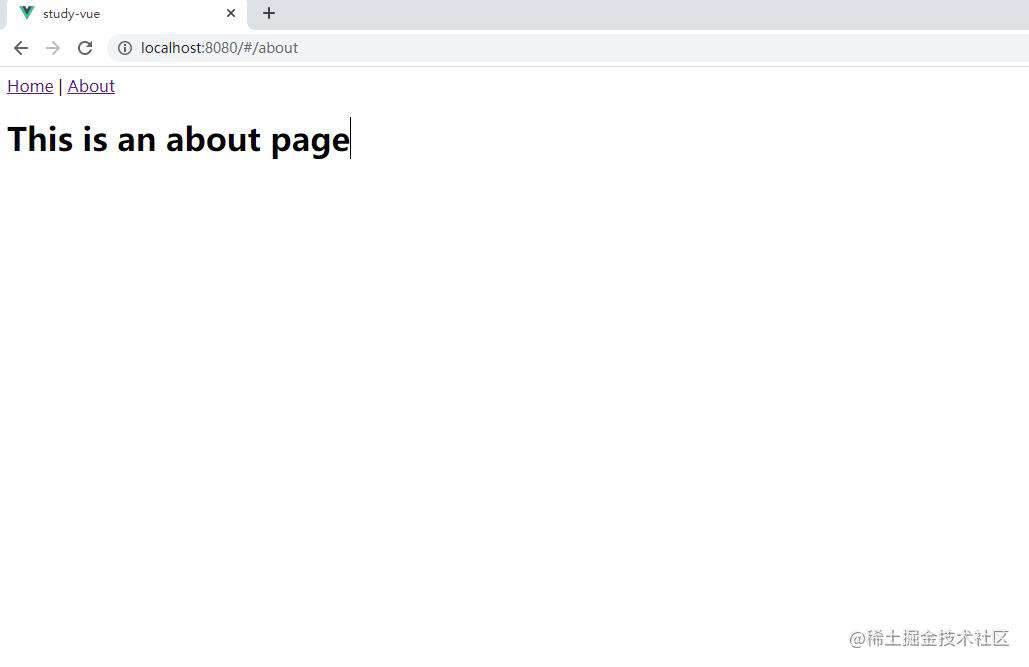
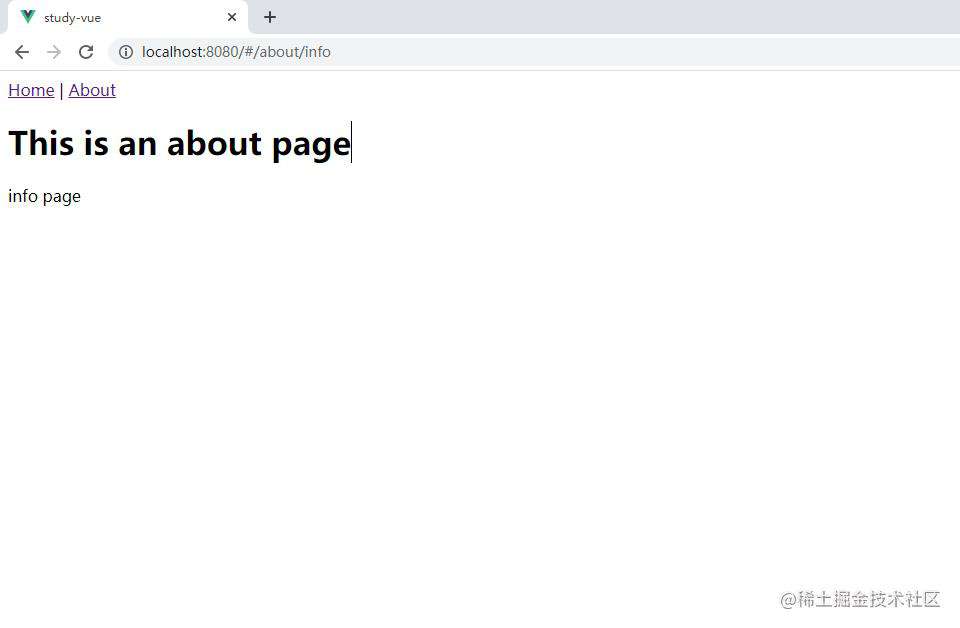
嵌套路由匹配成功!!
最后是整体的router代码
let Vue

class myRouter {

  constructor(options) {
    this.$options = options;
    //

    // this.routerMap={};
    // this.$options.routes.forEach((route)=>{
    //   this.routerMap[route.path]=route
    // })
    window.addEventListener('hashchange',this.onHashchange.bind(this))

    let initial=window.location.hash.slice(1)||'/'
    this.current=initial
    Vue.util.defineReactive(this,'matched',[])
    //match 方法递归遍历路由表获得匹配关系的数组

    this.match()
    //不再需要current作为响应式
    // Vue.util.defineReactive(this,'current',initial)

  }
  onHashchange() {
    // console.log(`window.location`, window.location);
    // console.log(`this`,this)
    this.current = window.location.hash.slice(1);
    this.matched = [];
    this.match()

  }
  match(routes){

      routes=routes||this.$options.routes
     //递归遍历路由表
     for(const route of routes){
       if(route.path==='/' && this.current==='/'){
         this.matched.push(route)
         return
       }
       // /about/info
       if(route.path!=='/' && this.current.indexOf(route.path)!==-1){
           this.matched.push(route)
           console.log(`this.matched`, this.matched);
           //往下递归
           if(route.children && route.children.length>0){

               this.match(route.children)
           }
           return
       }
     }
  }
}

myRouter.install=function(_Vue){
  Vue=_Vue;

  Vue.mixin({
      //这一步关键
      beforeCreate(){
          if(this.$options.router){
            Vue.prototype.$router = this.$options.router;
          }
      }
  })
  Vue.component('router-link',{
      props:{
          to:{
              type:String,
              required:true
          }
      },
      render(h){
          return h("a", {
            attrs: {
              href: "#" + this.to,
            },
          },[this.$slots.default]);
      }
  })

  Vue.component('router-view',{

    render(h){
               //标记当前 router-view 的深度
               this.$vnode.data.routerView = true;
               let depth = 0;
               let parent = this.$parent;
               while (parent) {
                 const vnodeData = parent.$vnode && parent.$vnode.data;
                 if (vnodeData) {
                   if (vnodeData.routerView) {
                     //说明祖代也是一个 router-view
                     depth++;
                   }
                 }
                 parent = parent.$parent;
               }
               console.log(depth);

               // const {routerMap,current}=this.$router;
               // console.log(`routerMap`,routerMap);
               // const component = routerMap[current]?routerMap[current].component:null
               //  return h(component);

               //路由匹配时获取 代表深度层级的 matched数组

               let component=null;
               const route=this.$router.matched[depth]
               if(route){
                 component = route.component
               }
               return h(component);
             }
  })

}


export default myRouter
常见问题FAQ
- 免费下载或者VIP会员专享资源能否直接商用?
- 本站所有资源版权均属于原作者所有,这里所提供资源均只能用于参考学习用,请勿直接商用。若由于商用引起版权纠纷,一切责任均由使用者承担。更多说明请参考 VIP介绍。
- 提示下载完但解压或打开不了?
- 找不到素材资源介绍文章里的示例图片?
- 模板不会安装或需要功能定制以及二次开发?


发表评论
还没有评论,快来抢沙发吧!