最近想开发个草稿纸功能, 所以学习了下canvas实现简单的画板功能, 但是我们知道在PC端我们可以用MouseEvent来监听我们的鼠标点按相关操作, 移动端可以使用TouchEvent来监听我们手指触摸相关操作, 所以我们做画板的时候要想兼顾鼠标点按和手指触摸就得写两套逻辑. 但是别忘了, 还存在PointerEventer, 它可以监听鼠标, 手指触摸以及触摸笔, 支持多点触控, 它还有个特殊的参数, 即压感, 在压感屏上可以获取获取压感笔的压感值, 只要根据压感值, 我们可以控制笔画的粗细
1. PointerEvent、MouseEvent和TouchEvent相对应的事件
| PointerEvent | MouseEvent | TouchEvent | poninterdown | mousedown | touchstart | pointermove | mousemove | touchmove | pointerup | mouseup | touchend | pointerleave | mouseleave | - | pointercancel | - | touchcancel |
|---|
2. 做个画板
1) 共用的部分
先写出公共的画板部分代码, 后面只会写不同的事件监听部分代码
  <style>
    body {
      padding: 0;
      margin: 0;
      height: 100vh;
      overflow: hidden;
    }
    .canvas-block {
      position: relative;
      width: 100%;
      height: 200px;
    }
    #canvas {
      position: absolute;
      top: 0;
      left: 0;
    }
    #canvas {
      z-index: 1;
    }
  </style>

  <div class="canvas-block">
    <canvas id="canvas" width="400" height="200"></canvas>
  </div>


  <script>
    const canvas = document.getElementById('canvas')
    const ctx = canvas.getContext('2d')
    let width = canvas.width
    let height = canvas.height
    if (window.devicePixelRatio) {
      canvas.style.width = width + 'px'
      canvas.style.height = height + 'px'
      canvas.height = height * window.devicePixelRatio
      canvas.width = width * window.devicePixelRatio
      ctx.scale(window.devicePixelRatio, window.devicePixelRatio)
    }
    canvas.getContext('2d').imageSmoothingEnabled = true
    let lineWidth = 3
    let lineColor = '#fff'
    let painting = false
</script>
2) 使用MouseEvent监听事件
// 落笔
 canvas.onmousedown = e => {
      painting = true
      const event = e || window.event
      ctx.lineCap = 'round'
      ctx.lineJoin = 'round'
      const x = event.offsetX
      const y = event.offsetY
      ctx.beginPath()
      ctx.moveTo(x, y)
      ctx.lineWidth = lineWidth
      ctx.strokeStyle = lineColor
    }
    // 移动
    canvas.onmousemove = e => {
      if (!painting) {
        return
      }
      const event = e || window.event
      const x = event.offsetX
      const y = event.offsetY
      ctx.lineTo(x, y)
      ctx.stroke()
    }
    // 抬笔
    canvas.onmouseup = () => {
      if (!painting) {
        return false
      }
      painting = false
      ctx.closePath()
    }

    // 离开画板
    canvas.onmouseleave = () => {
      if (!painting) {
        return false
      }
      painting = false
      ctx.closePath()
    }
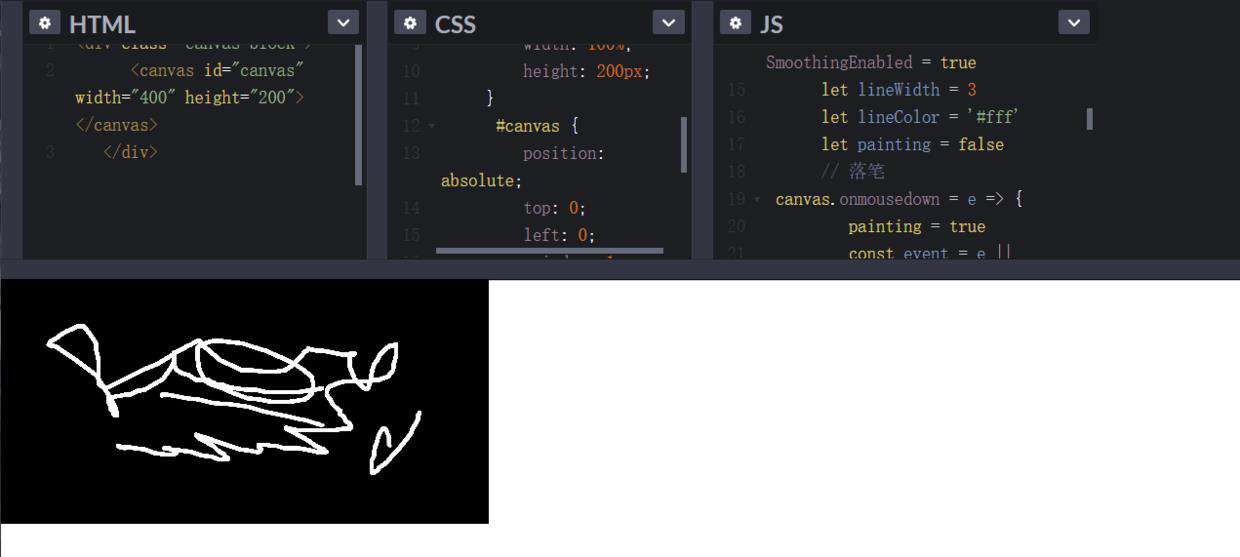
效果
3) 使用TouchEvent
// 手指按下
canvas.ontouchstart = e => {
      console.log(e.touches)
      painting = true
      const event = e.touches[0]
      ctx.lineCap = 'round'
      ctx.lineJoin = 'round'
      const x = event.pageX
      const y = event.pageY
      ctx.beginPath()
      ctx.moveTo(x, y)
      ctx.lineWidth = lineWidth
      ctx.strokeStyle = lineColor
    }
    // 手指移动
    canvas.ontouchmove = e => {
      if (!painting) {
        return
      }
      const event = e.touches[0]
      const x = event.pageX
      const y = event.pageY
      ctx.lineTo(x, y)
      ctx.stroke()
    }
    // 手指抬起
    canvas.ontouchend = () => {
      if (!painting) {
        return false
      }
      painting = false
      ctx.closePath()
    }
    // 手指离开区域
    ontouchcancel = () => {
      if (!painting) {
        return false
      }
      painting = false
      ctx.closePath()
    }
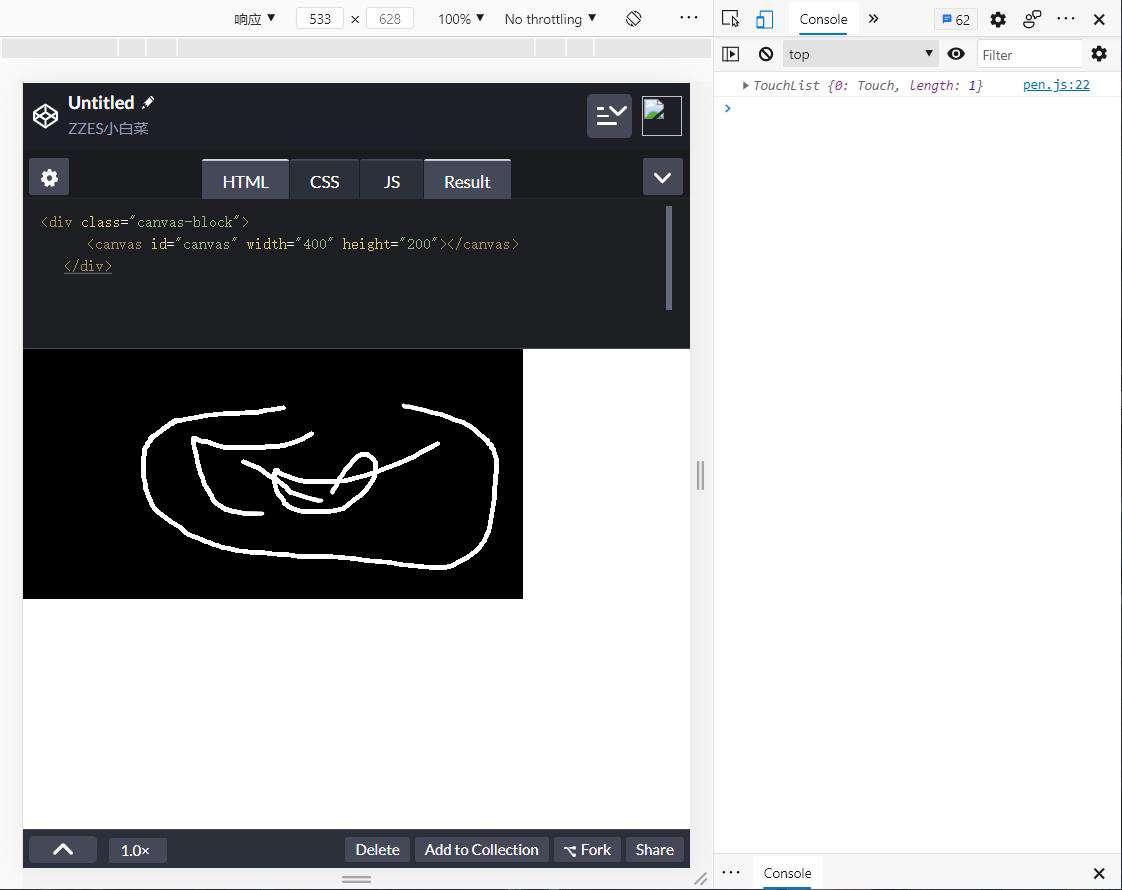
效果
3) 使用PointerEvent
源码地址: klren0312/drawboard: drawboard with pressure ( 可以使用压感笔的画板 ) (github.com) 示例地址: klren0312.github.io/drawboard/
注意点:
- 在移动端, 会出现触摸页面时, 产生页面滚动, 浏览器缩放等事件, 这时候需要给画布设置
touch-action: none;样式, 来设置当触控事件发生在元素上时,不进行任何操作 - 因为我们需要实时根据压感来设置笔画粗细, 所以在每一次移动都作为一个路径的起始和结束, 当然这样的话我们需要记录每次移动的最终坐标, 在pointermove事件再次触发的时候, 将坐标移动到上一次结束的坐标处, 这样保证了笔画的连续性
 /**
     * @description 开始
     * @param {PointerEvent} e 事件
     */
    function startDraw(e: PointerEvent) {
      painting = true
      pointerId = e.pointerId
      ctx.lineCap = 'round'
      ctx.lineJoin = 'round'
      doDraw(e, true)
    }
    /**
     * @description 移动
     * @param {PointerEvent} e 事件
     */
    function moveDraw(e: PointerEvent) {
      if (!painting && e.pointerId !== pointerId) {
        return
      } else {
        doDraw(e)
      }
    }
    function cancelDraw(e: PointerEvent) {
      console.log('cancel')
      pointerId = -1
      if (!painting) {
        return false
      }
      painting = false
      historyList.push(ctx.getImageData(0, 0, canvas.width, canvas.height))
      ctx.closePath()
    }
    /**
     * 绘画
     * @param {PointerEvent} e 事件
     * @param {Boolean} isStart 是否是起始点
     */
    function doDraw(e, isStart = false) {
      if (isPen.value && e.pointerType !== 'pen') {
        return
      }
      const event: PointerEvent = e || window.event
      const x: number = event.offsetX
      const y: number = event.offsetY
      ctx.lineWidth = getLineWidth(event)
      ctx.strokeStyle = lineColor.value
      ctx.beginPath()
      if (!isStart) {
        ctx.moveTo(startXY.x, startXY.y)
        ctx.lineTo(x, y)
      } else {
        ctx.moveTo(x, y)
      }
      ctx.closePath()
      ctx.stroke()
      startXY = {
        x: x,
        y: y
      }
    }
    /**
     * @description 计算线宽
     * @param {PointerEvent} e 事件
     * @return {number} 线宽
     */
    function getLineWidth(e: PointerEvent): number {
      switch (e.pointerType) {
        case 'touch': {
          if (e.width < 10 && e.height < 10) {
            return (e.width + e.height) * 2 + 10;
          } else {
            return (e.width + e.height - 40) / 2;
          }
        }
        case 'pen': return e.pressure * 8;
        default: return (e.pressure) ? e.pressure * 8 : 4;
      }
    }
可以看到上面的代码 , 我们在每次完整的笔画绘制结束, 会向historyList数组里保存一个图片数据.
historyList.push(ctx.getImageData(0, 0, canvas.width, canvas.height))
这么做主要是为了实现笔画的回退操作, 我们可以在点击回退按钮时, 取出上一步保存的图片绘制到canvas中, 达到此功能
清屏的功能就相对简单, 可以使用canvas的clearRect来将画布清空
ctx.clearRect(0, 0, canvas.width, canvas.height)
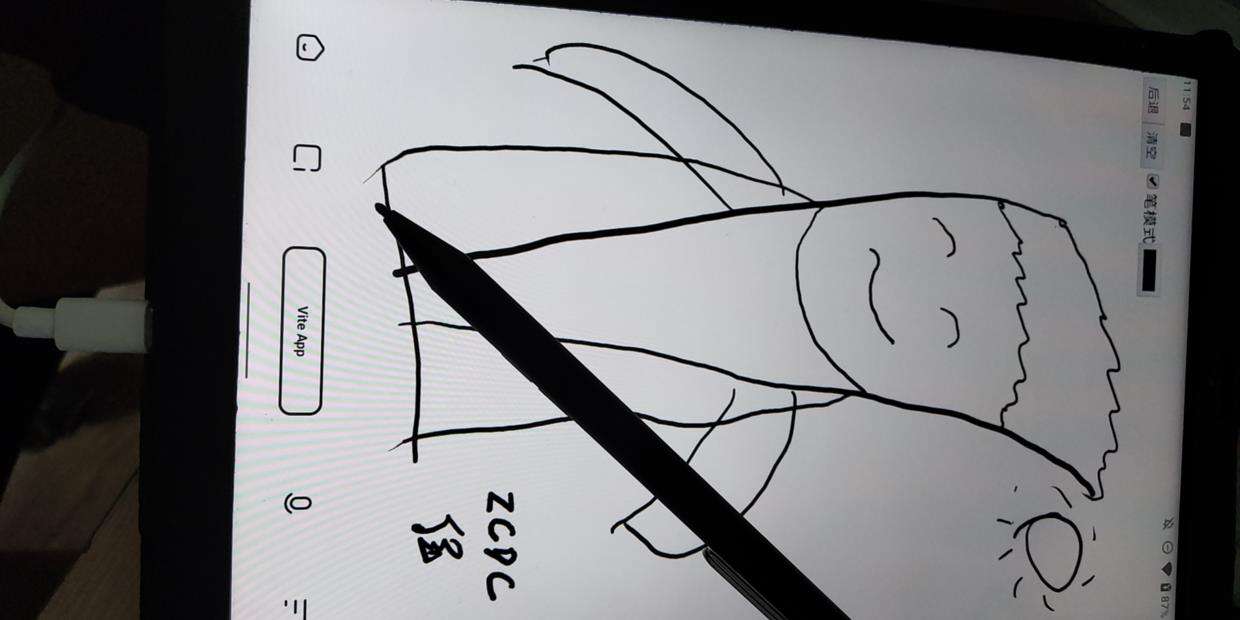
效果
参考资料
developer.mozilla.org/zh-CN/docs/… developer.mozilla.org/zh-CN/docs/… developer.mozilla.org/zh-CN/docs/… developer.mozilla.org/zh-CN/docs/… zh.javascript.info/pointer-eve… github.com/klren0312/d…
常见问题FAQ
- 免费下载或者VIP会员专享资源能否直接商用?
- 本站所有资源版权均属于原作者所有,这里所提供资源均只能用于参考学习用,请勿直接商用。若由于商用引起版权纠纷,一切责任均由使用者承担。更多说明请参考 VIP介绍。
- 提示下载完但解压或打开不了?
- 找不到素材资源介绍文章里的示例图片?
- 模板不会安装或需要功能定制以及二次开发?


发表评论
还没有评论,快来抢沙发吧!