前言
文章内容:
- 使用fastlane实现react-native自动化打包android和ios应用,并自动上传到蒲公英(ios/android)或TestFlight(ios)
- 自定义一个fastlane action
系统环境:
- MacOS
前置知识:
- fastlane的配置文件是使用ruby编写的,所以需要会ruby
适合阅读人群:
- 已有react-native项目,并进行过android和ios的原生打包上传工作,想要使用fastlane进行打包部署流程优化
什么是fastlane?
引用官网的一句话:fastlane是自动化iOS和Android应用程序Beta部署和发布的最简单方法。 ?它可以处理所有繁琐的任务,例如生成屏幕截图,处理代码签名以及发布应用程序。
实战教程
步骤1:环境配置
安装Xcode command line tools
xcode-select --install
安装ruby
安装
brew install ruby
查看ruby是否安装成功
ruby --version
安装fastlane
使用RubyGems安装fastlane
sudo gem install fastlane -NV
步骤2:初始化fastlane
进入你react-native项目的ios目录
cd path/to/your/react-native/project/ios
运行初始化命令
fastlane init
接着fastlane会需要你输入选择相关配置:

选择2

选择不含tvOS的那个,即2

输入你开发使用的Apple ID,第一次配置还会需要密码等信息,按照提示填写即可
接下来fastlane会自动生成一些文件,然后显示一些提示信息,可直接按回车跳过,提示内容大概如下:
- 提示你将配置文件上传到git
- 告诉你文件名为Fastfile是用来编写配置的
- 一些教程地址
自动生成的文件如下:
 - fastlane/
   - Appfile
   - Fastfile
 - Gemfile
 - Gemfile.lock
步骤3:配置fastlane
打开FastFile
先解释下自动生成配置的含义
default_platform(:ios) #默认平台

platform :ios do
  desc "Push a new beta build to TestFlight" # 描述文字
  lane :beta do #lane的名称,运行命令`fastlane 即可执行下面的代码`
    increment_build_number(xcodeproj: "schema.xcodeproj") # 更新build版本号
    build_app(workspace: "schema.xcworkspace", scheme: "schema") # 打包
    upload_to_testflight # 上传到testflight
  end
end
接下来,我们把fastlane文件夹,Gemfile文件,Gemfile.lock移动到项目根目录,因为后面会在同一个FastFile编写ios和android的打包配置,当然你也可以在android目录运行fastlane,生成一个独立的配置文件。
修改配置文件
将FastFile使用如下代码替换
pyger_api_key = "your_pyger_api_key" # 替换成你蒲公英账号的api_key
pyger_user_key = "your_pyger_user_key" # 替换成你蒲公英账号的user_key

before_all do
  # 在lane执行前运行
end


# 打包ios
platform :ios do
  desc "打包ios并上传"
  lane :publish do
    FASTLANE_APPLE_APPLICATION_SPECIFIC_PASSWORD = "xxxx"

    # 选择上传地址
    export_method = "ad-hoc"
    upload = UI.select("选择上传地址:", ["pgyer", "TestFlight"])
    if upload == "TestFlight"
      export_method = "app-store" # 上传到testFlight,导出方式使用app-store
    else
      export_method = "ad-hoc" # 上传到pyger,导出方式使用ad-hoc
    end

    scheme_name = "scheme_name" # 替换成你的ios项目要打包的scheme名称

    project = "./ios/scheme_name.xcodeproj"

    # build加1
    increment_build_number(xcodeproj: project)
		# 获取最新的build号码
    build_number = get_build_number(xcodeproj: project)
		# 获取应用版本号
    versoin_number = get_version_number(
      xcodeproj: project,
      target: scheme_name
    )
		# 拼接打包文件名称
    output_name = "#{scheme_name}_#{versoin_number}_#{build_number}_#{Time.now.strftime('%Y%m%d%H%M%S')}.ipa"

    # 打包
    gym( # build_app的别名
      workspace: "./ios/scheme_name.xcworkspace",
      scheme: scheme_name,
      export_method: export_method,
      output_directory: "./ios/build",
      output_name: output_name,
      clean: true, # 每次打包前清理项目
      suppress_xcode_output: true, # 打包过程中不显示xcode的输出信息
    )

    # 上传到TestFlight或者蒲公英
    if upload === "TestFlight"
      testflight()
    else
      pgyer(api_key: pyger_api_key, user_key: pyger_user_key)
    end
  end
end

# 打包android
platform :android do
  desc "打包android并上传到蒲公英"
  lane :publish do
    project_dir = "./android/"

    gradle(task: 'clean', project_dir: project_dir) # 清理
    gradle(task: 'assemble', build_type: 'Release', project_dir: project_dir) # 打包

    pgyer(api_key: pyger_api_key, user_key: pyger_user_key) # 上传到蒲公英
  end
end

after_all do
  # 在lane执行后运行
end
蒲公英上传配置
运行命令,安装蒲公英fastlane插件
fastlane add_plugin pgyer

输入y
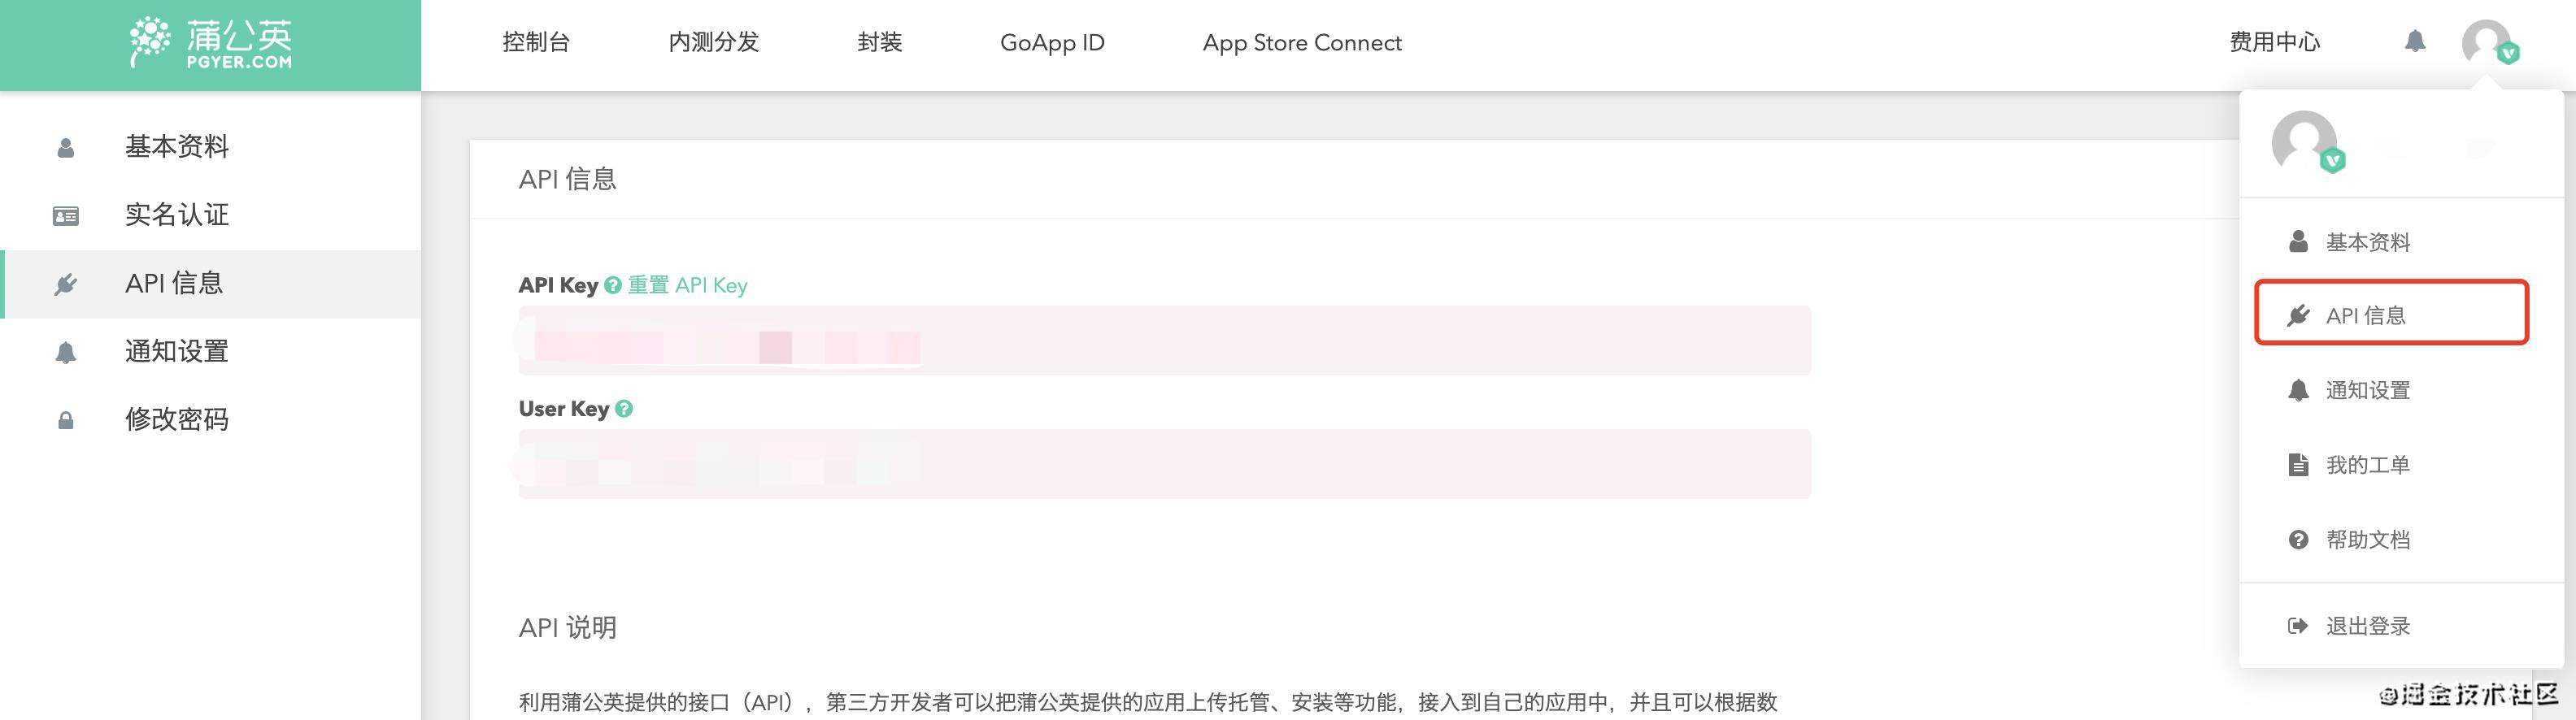
查看蒲公英的API Key和User Key,替换配置文件中的内容
运行
打包ios
fastlane ios publish
打包android
fastlane android publish
也可以将命令加到到package.json中
{
  "scripts": {
    "ios-publish": "fastlane ios publish",
    "android-publish": "fastlane android publish"
  }
}
打包ios
yarn ios-publish
打包android
yarn android-publish
创建一个自定义action
什么是action?
action就是fastlane 运行时,要执行的动作。例如:前面FastFile中使用gym、testFlight等就是fastlane内置的action,具体可查看:fastlane内置action文
如何创建一个自定义action?
运行命令创建一个action
faslane new_action

输入你的action名称,命名规则:小驼峰或下划线连接
这里我们输入hello作为action的名称
然后会fastlane文件夹下看到自动生成的如下文件
- actions
	- hello.rb
下面来解释下hello.rb的内容,打开文件hello.rb
module Fastlane
  module Actions
    module SharedValues
      HELLO_CUSTOM_VALUE = :HELLO_CUSTOM_VALUE # 定义可以共享的变量

    end

    class HelloAction < Action
      def self.run(params)
        # fastlane will take care of reading in the parameter and fetching the environment variable:
        UI.message "Parameter API Token: #{params[:api_token]}"

        # sh "shellcommand ./path"

        # Actions.lane_context[SharedValues::HELLO_CUSTOM_VALUE] = "my_val" 共享变量赋值
      end

      #####################################################
      # @!group Documentation
      #####################################################

      def self.description
        "A short description with <= 80 characters of what this action does"
      end

      def self.details
        # Optional:
        # this is your chance to provide a more detailed description of this action
        "You can use this action to do cool things..."
      end

      def self.available_options
        # Define all options your action supports.

        # Below a few examples
        [
          FastlaneCore::ConfigItem.new(key: :api_token,
                                       env_name: "FL_HELLO_API_TOKEN", # The name of the environment variable
                                       description: "API Token for HelloAction", # a short description of this parameter
                                       verify_block: proc do |value|
                                          UI.user_error!("No API token for HelloAction given, pass using `api_token: 'token'`") unless (value and not value.empty?)
                                          # UI.user_error!("Couldn't find file at path '#{value}'") unless File.exist?(value)
                                       end),
          FastlaneCore::ConfigItem.new(key: :development,
                                       env_name: "FL_HELLO_DEVELOPMENT",
                                       description: "Create a development certificate instead of a distribution one",
                                       is_string: false, # true: verifies the input is a string, false: every kind of value
                                       default_value: false) # the default value if the user didn't provide one
        ]
      end

      def self.output
        # Define the shared values you are going to provide
        # Example
        [
          ['HELLO_CUSTOM_VALUE', 'A description of what this value contains']
        ]
      end

      def self.return_value
        # If your method provides a return value, you can describe here what it does
      end

      def self.authors
        # So no one will ever forget your contribution to fastlane :) You are awesome btw!
        ["Your GitHub/Twitter Name"]
      end

      def self.is_supported?(platform)
        # you can do things like
        #
        #  true
        #
        #  platform == :ios
        #
        #  [:ios, :mac].include?(platform)
        #

        platform == :ios
      end
    end
  end
end
-
self.run:要运行的代码 -
self.description:action简单的功能描述 -
self.details:action详细的功能描述 -
self.available_options:参数定义 -
self.output:当前action可以共享给外部使用的变量 -
self.return_value:action的返回值 -
self.authors:action作者的信息 -
self.is_supported?(platform):支持的平台
然后我们修改一下hello.rb的内容
module Fastlane
  module Actions

    class HelloAction < Action
      def self.run(params)
        UI.message "Hello #{params[:name]}."
      end

      def self.description
        "一个打招呼的action"
      end

      def self.available_options
        [
          FastlaneCore::ConfigItem.new(key: :name,
                                       env_name: "FL_HELLO_NAME", # The name of the environment variable
                                       description: "你的名称", # a short description of this parameter
                                       verify_block: proc do |value|
                                          UI.user_error!("name必填!") unless (value and not value.empty?)
                                       end),
        ]
      end
    end
  end
end
测试一下
在FastFlie加入测试代码
lane :testHelloAction do
  hello() # 对应action文件名称
end
运行
fastlane testHelloAction
结果

成功运行!
参考文章:
常见问题FAQ
- 免费下载或者VIP会员专享资源能否直接商用?
- 本站所有资源版权均属于原作者所有,这里所提供资源均只能用于参考学习用,请勿直接商用。若由于商用引起版权纠纷,一切责任均由使用者承担。更多说明请参考 VIP介绍。
- 提示下载完但解压或打开不了?
- 找不到素材资源介绍文章里的示例图片?
- 模板不会安装或需要功能定制以及二次开发?


发表评论
还没有评论,快来抢沙发吧!